Adding 3D Effects on a CapCut project may not seem easy at first but follow this guide, and you’ll be a master in no time.
This is what you need to do:
- Open CapCut
- Tap on “New Project“
- Select a video and tap on “Add“
- Tap on “Edit“
- Select “Style“
- Find “3D Zoom” and select it
- Tap on the checkmark icon to save the changes
If any of this confuses you, read the guide below – it’s super easy to follow… and I’ve included step-by-step instructions with screenshots for a visual aid!
Let’s get started then, my dear friends 🙂
Summary: In this article, I provide a step-by-step guide on how to add 3D effects to a CapCut project.

How to Add 3D Effects in CapCut:

1. Open CapCut: Launch the CapCut app on your device.
2. Create a New Project: Tap on “New Project.”
3. Select a Video: Choose a video from your gallery and tap on “Add.”
4. Edit the Video: Tap on the video clip in the timeline to highlight it, then tap on “Edit.”
5. Apply 3D Zoom: Select “Style,” find the “3D Zoom” option, and tap on it.
6. Save Changes: Tap on the checkmark icon to apply and save the 3D effect.

How to Do the TikTok Trend on CapCut:

1. Upload Pictures: Start a new project and upload 11 pictures from your gallery.
2. Apply 3D Zoom: Select each picture, go to “Edit,” tap on “Style,” choose “3D Zoom,” and apply it.
3. Shorten Duration: Adjust the duration of each image to create a smooth and engaging transition effect.

By following these steps, you can easily add 3D effects to your videos and participate in popular trends on TikTok using CapCut.
1. Tap on “New Project“
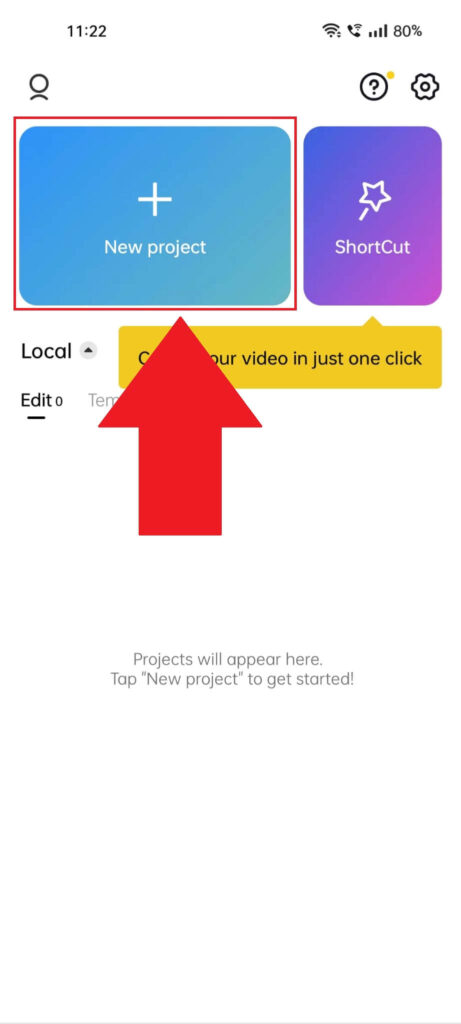
Begin by opening CapCut on your phone. Then, tap the “New project” button (it has a blue background) in the top-left corner.
Doing this allows you to select a video/photo to edit (the photo to which you’ll add a 3D effect later on).
2. Select a photo and tap “Add“
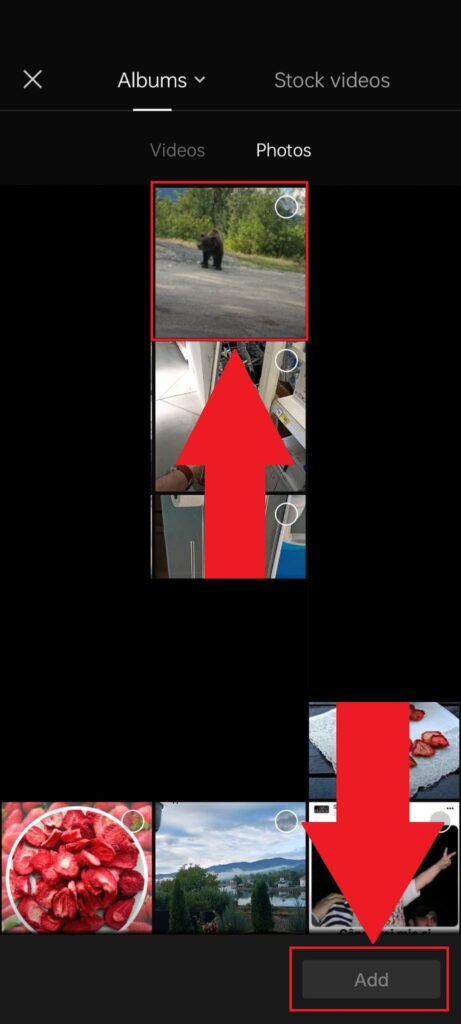
After tapping on the “New project” button, the “Albums” window will open. Here, you can select a picture to edit, but first, make sure the “Photos” category is selected (see the screenshot above).
Then, select your picture and tap “Add” in the bottom-left corner. Check the image I added above if any of this still sounds weird.
3. Select “Edit“
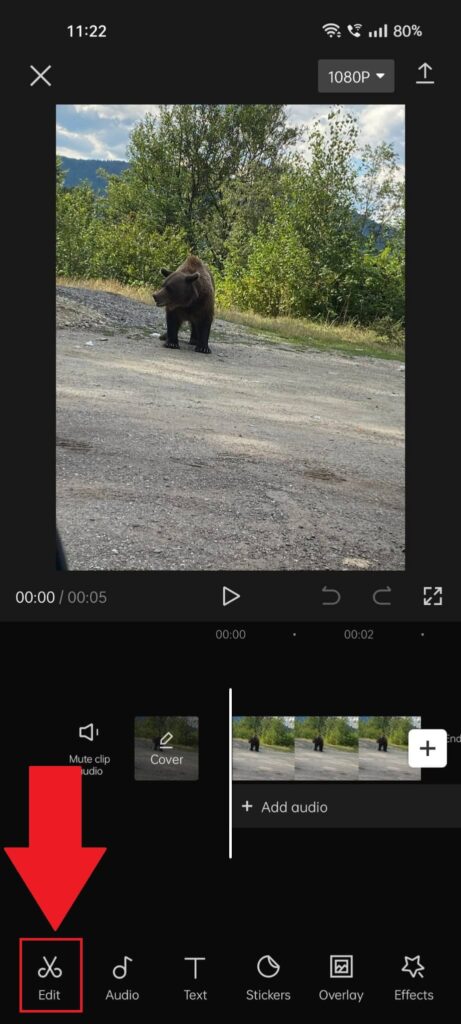
Once you upload a picture in CapCut, the editing screen will appear (highlighted in the image above).
To add a 3D effect, you need to access the “Style” option, but to get there, you’ll need to tap the “Edit” option in the bottom-left corner first.
Then, see the next steps below…
4. Select “Style“
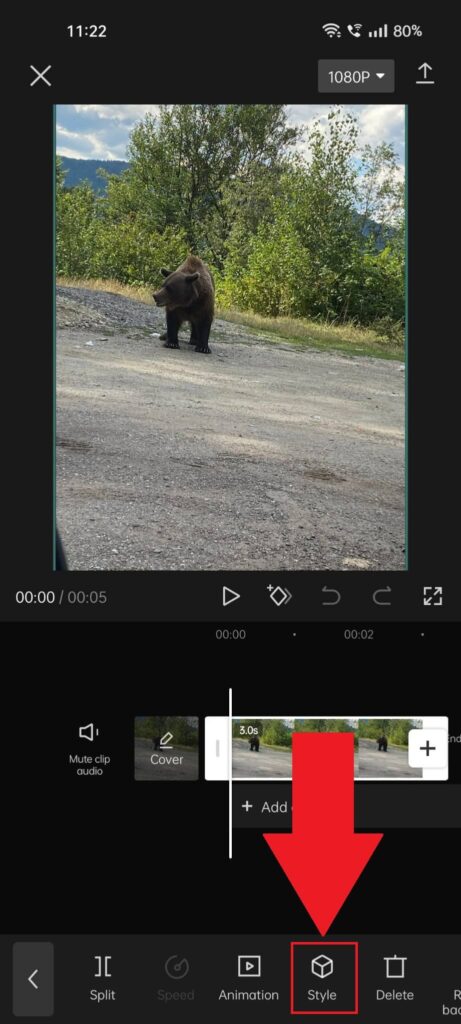
After selecting “Edit” in the previous step, new options will appear on the bottom menu. One of the is the “Style” option.
Select it and move on to the next steps to see how to introduce a 3D effect to the image:
5. Tap on “3D Zoom“
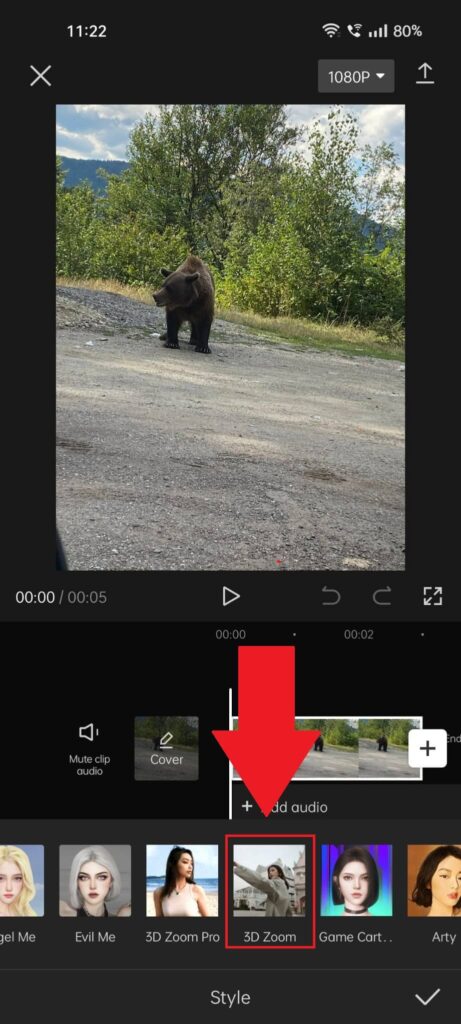
After you select “Style“, the menu will switch up once again and show you all the 3D effects on the bottom side.
Scroll through them until you find the “3D Zoom” effect (shown in the screenshot above). Select it to add the effect to the photo.
…yes, I know it gets a bit confusing, but bear with me, please, we’re almost done.
6. Wait for the effect to finish implementing
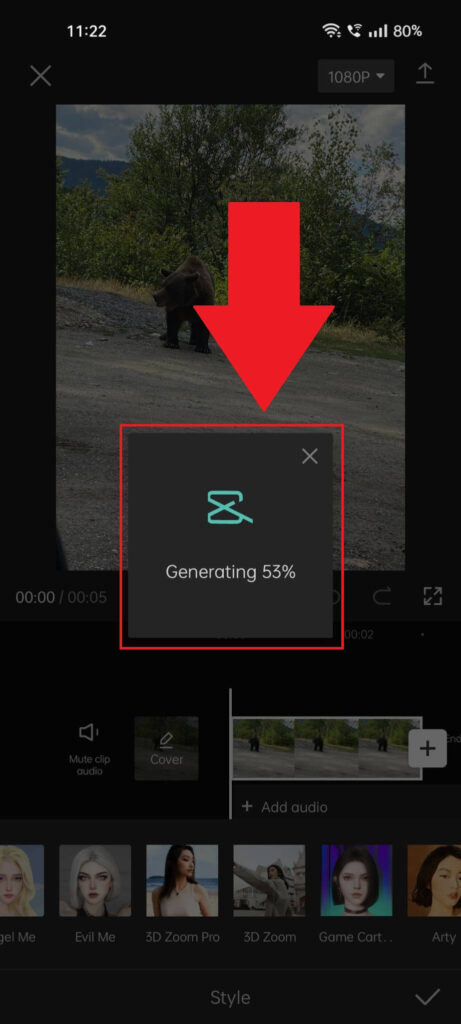
Selecting the 3D Zoom effect will lead to a loading screen. This effect takes some time to take effect (no pun intended, haha), so wait for a few seconds.
7. Tap the checkmark icon to save the changes
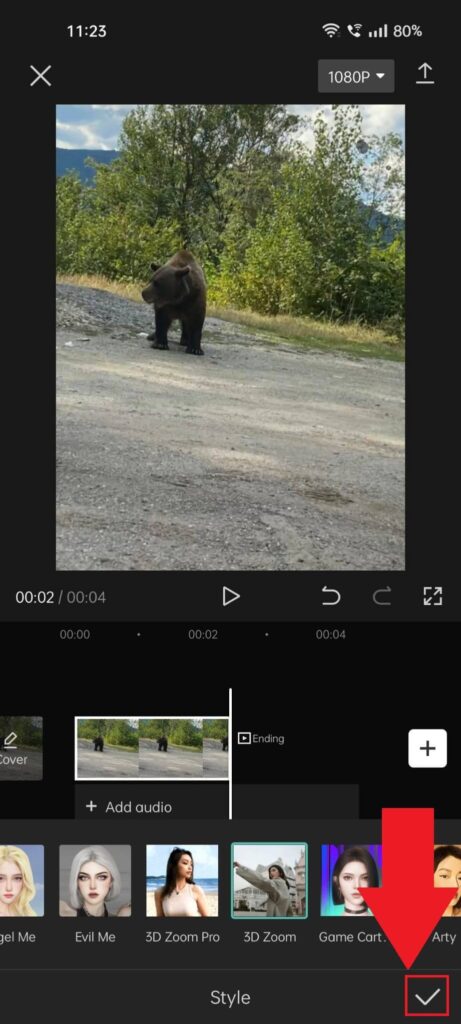
Once the 3D Zoom effect finishes loading, you can play the video to watch the 3D animation play out.
If it suits your needs, then tap the checkmark icon in the bottom-right corner to save the changes.
And that’s pretty much it. Not that difficult, after all? – Good thing I’m such a nice guy and made all those screenshots! 😀
Now let’s talk about one more thing… (yeah, I totally stole this from Tim Cook).
How Do I Do the TikTok Trend on CapCut?
There’s a viral TikTok trend going on where people make a video of 11 pictures, each using 3D animations. If you want to copy that, just follow the guidelines outlined above.
Only that, instead of uploading one picture… now upload 11 pictures. Then, apply 3D Zoom to all of them, and that’s it, really!
Oh, one other thing – you may also want to shorten the duration of each image, so the end result isn’t too long.
This is how you should shorten the duration of your 11 photo clips:
- 0.5 seconds for the first four clips
- 0.3 seconds for the rest seven clips
Save the changes and post the video on TikTok. Then, bask in the glory of your achievement! Clap-clap!
Let’s now summarize all of this again, as I’m feeling nice today 🙂
Using 3-D effects on CapCut relies only on finding your way through the menus within the app. Here’s how to do it, in short:
- Open CapCut
- Tap on “New Project“
- Select a video and tap on “Add“
- Tap on “Edit“
- Select “Style“
- Find “3D Zoom” and select it
- Tap on the checkmark icon to save the changes
After following the steps above, your photos will all have a 3D Zoom effect (but you can try other 3D effects too), and they’re ready to be posted.
Leave a comment below if you’re still having issues with any of the steps and I’ll try to troubleshoot your problem. Peace and love! <3