Did you make a Discord server but… no one’s joining it? Well, that’s because it’s not public yet. You see, when you first create a server, it’s private by default. You get to choose when you make it public.
Here’s how you can make a Discord server public:
- Open your server
- Click on the server’s name
- Select “Server settings“
- Select “Enable Community“
- Click “Get Started“
- Go through the entire process
Follow my guide below, and you’ll have a public server ready to welcome its first members in no time. Just a few steps before that, though. Keep reading 😀
1. Select your server
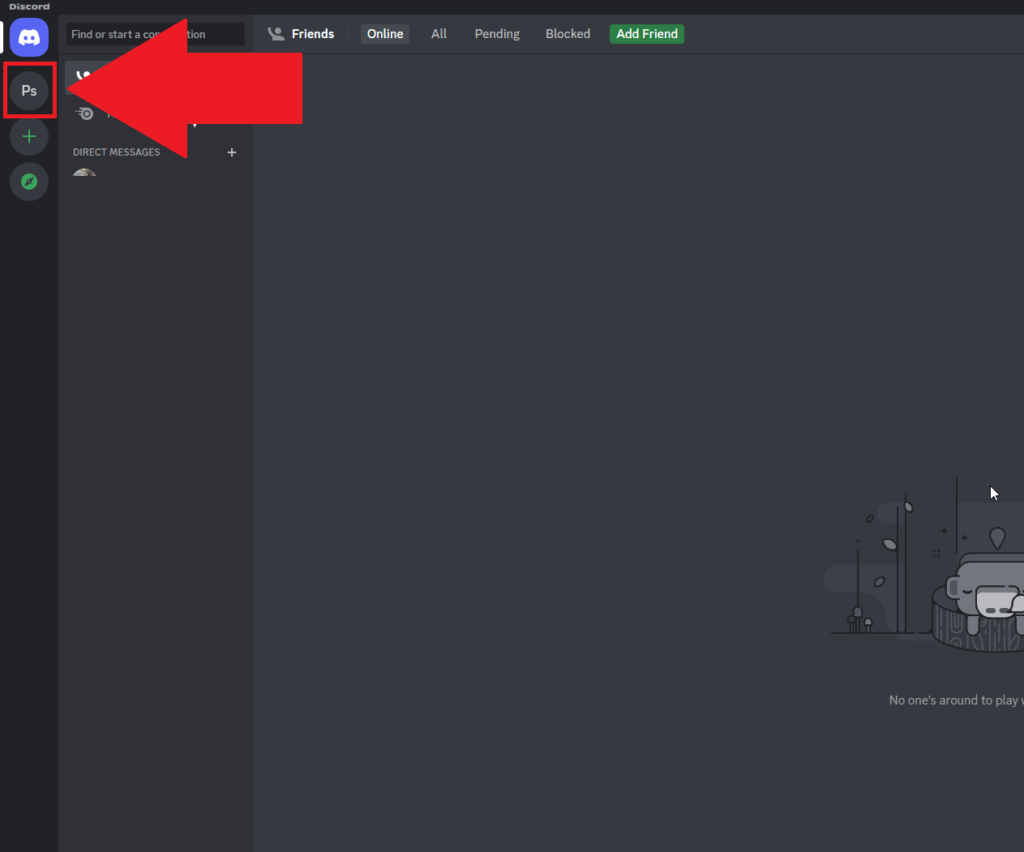
Alright, first things first – open Discord, log in if necessary, and then select your server from the left-hand side menu.
I’m assuming the server is already created, so you don’t need instructions on how to do that. Then, select your server just like I do in the screenshot above!
2. Click on the server’s name
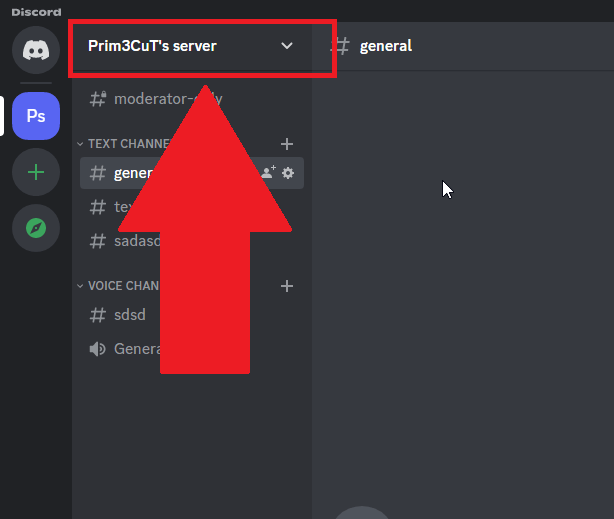
Once you select the server’s page, you’ll see a list of the channels a bit to the right. Now look up – you should see the server’s name there (check the screenshot above).
Click on it!
3. Select “Server Settings“
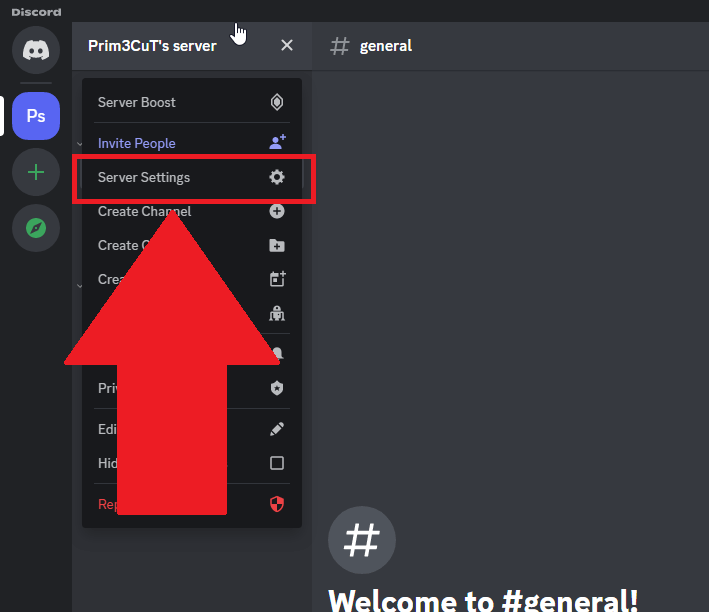
Did ya click on the server’s name as I said? Then a drop-down menu should have opened, like in the screenshot above.
See the “Server Settings” option? It has a gear icon next to it. Yep, that one – click it.
4. Go to “Enable Community“
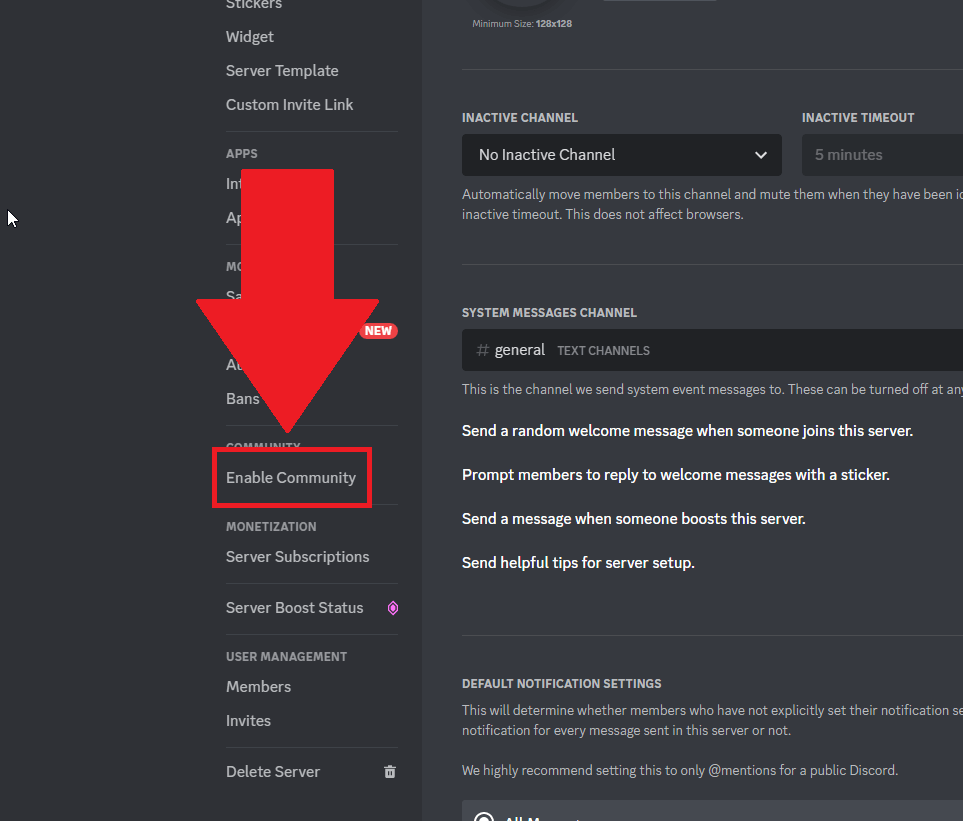
You should have reached the settings page by now. On the left-hand side, you’ll see a menu with a boatload of options.
Scroll through it until you find the “Enable Community” option (check the screenshot above for more info). Once you find it, select it.
Then, look below:
5. Select “Get Started“
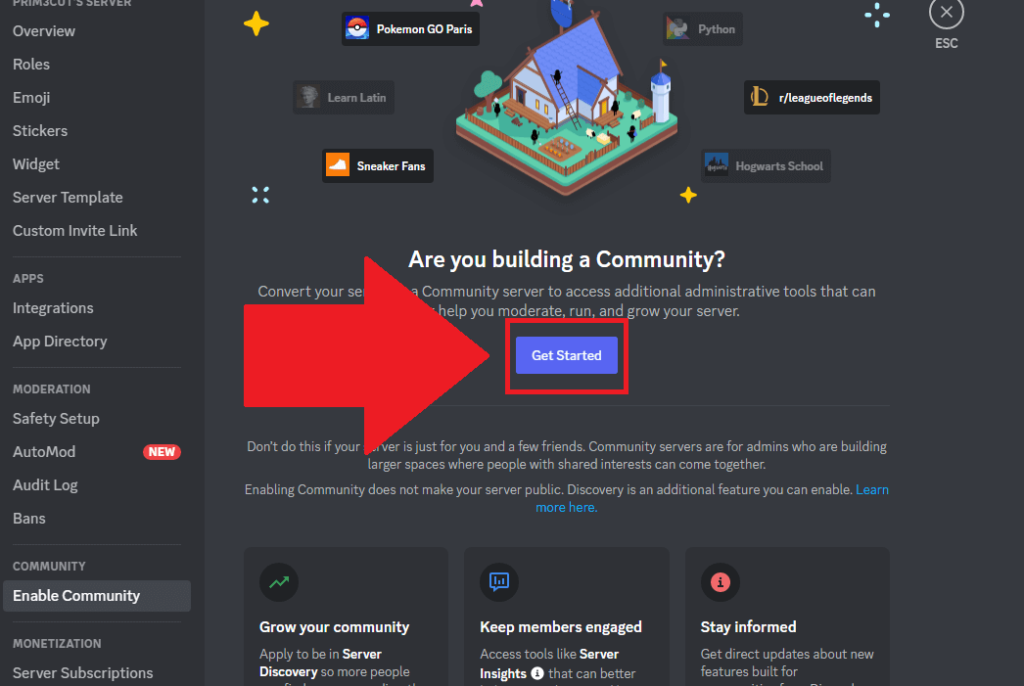
Good, now you should have selected “Enable Community“, and you’ll see the Community page in the middle of the Discord app. Yep, like in the screenshot above.
Next, select “Get Started” to start the process!
6. Select a verification level and a media content filter
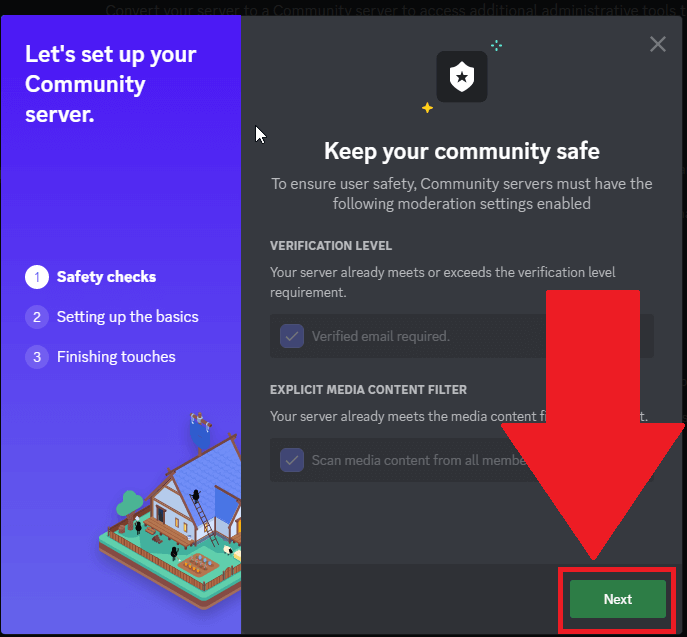
This is the first step of making your server public. Here, you’ll choose the verification level and the explicit media content filter.
By default, members will have to verify their email addresses, and the media content filter will scan the media content from all members automatically.
If you agree, select “Next” to continue!
7. Create Rules and Community Updates Channels
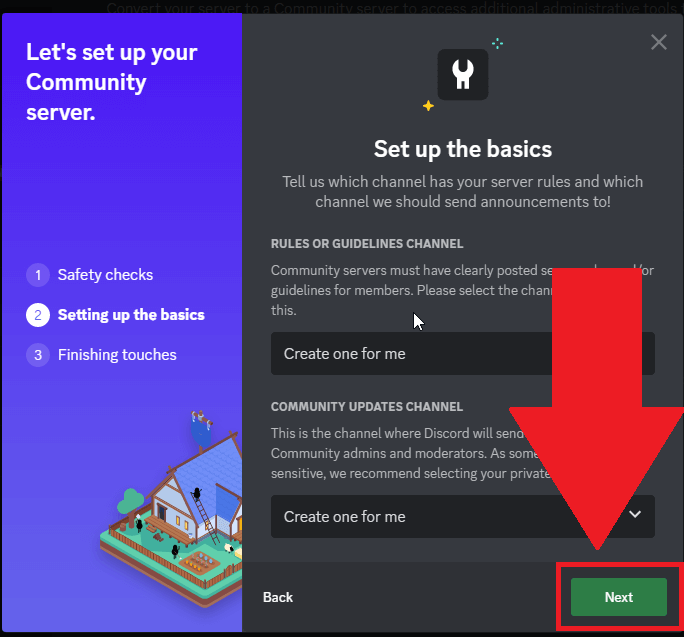
The second step will let you create a rules/guidelines channel and a community updates channel. You can select to create these channels just for you or the entire community (recommended).
Once you’re done, select “Next“
8. Select “Agree” and then “Next“
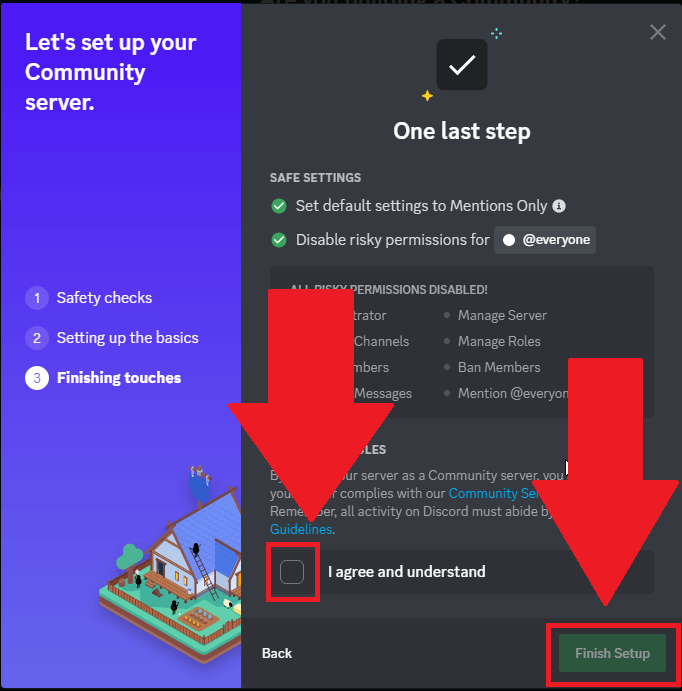
This is the last step – you’re almost there. Just check the “I agree and understand” box and then select “Finish Setup“.
And…you’re done. Close the Discord settings and just wait for members to come pouring in. Let me know in the comments below if you need help with anything else!