Are you trying to remove your check-in on Facebook and the whole process is bamboozling, to say the least? Yeah, I know. It took me some 10 minutes to create this guide because there was no option to remove it.
As it turns out, you can’t remove a Facebook check-in on your computer. I only managed to do it on my phone.
Here’s how:
- Tap on your profile picture
- Find the post with the check-in
- Tap the three-dot icon in the top-right corner
- Select “Edit post“
- Tap the check-in/location icon at the bottom
- Remove the check-in by selecting X
- Save the post
Don’t worry, I’ll walk you through every step (plus screenshots), so you can get this done quickly and get back to what you were doing. Keep reading 😀
1. Tap on your profile picture
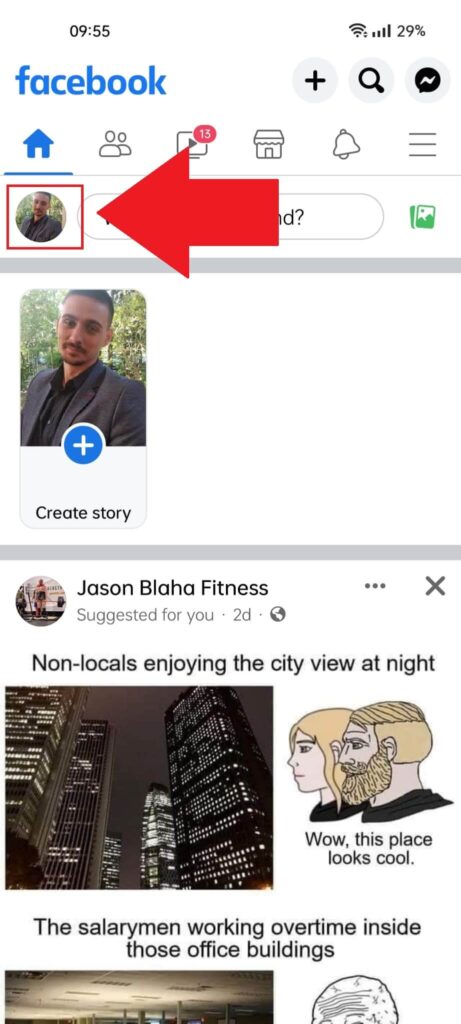
Begin by opening Facebook and looking for your profile picture in the top-left corner. Select it to open your profile page (where you can find your post).
2. Find your post and tap the three-dot icon
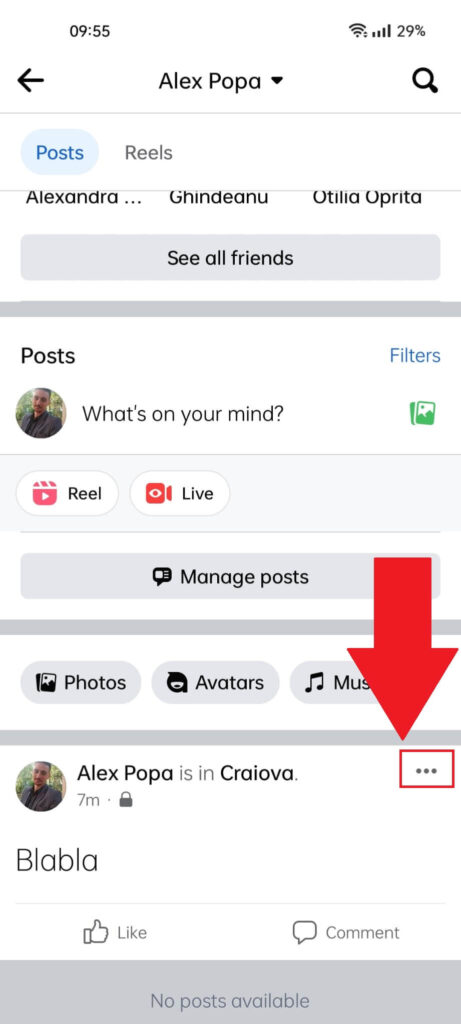
After reaching your profile page, scroll through your feed and find the post with the check-in that you want to delete.
Found it? Good, then tap the three-dot icon in the top-right corner, just like in the picture above.
3. Select “Edit Post“
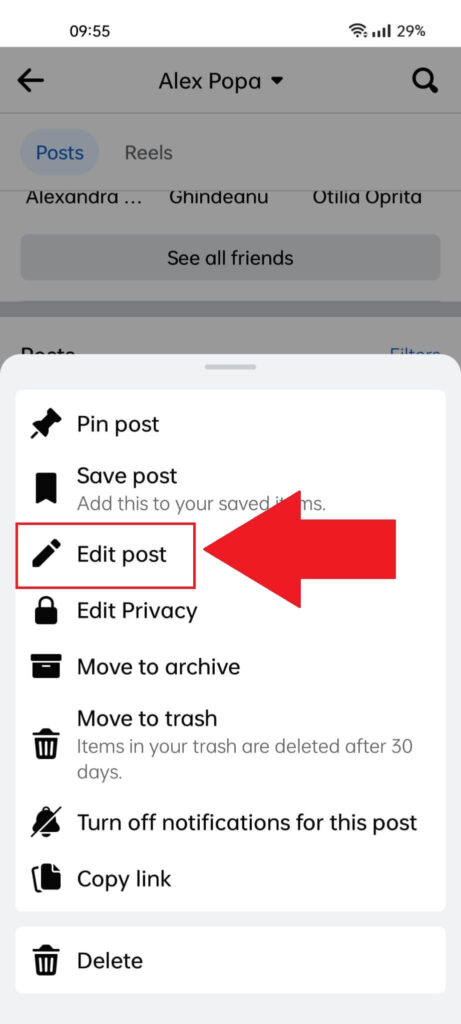
In the three-dot menu (highlighted above), you can see a list of options. The “Edit post” option is what you’re looking for, so give it a tap and keep reading!
4. Tap the location icon
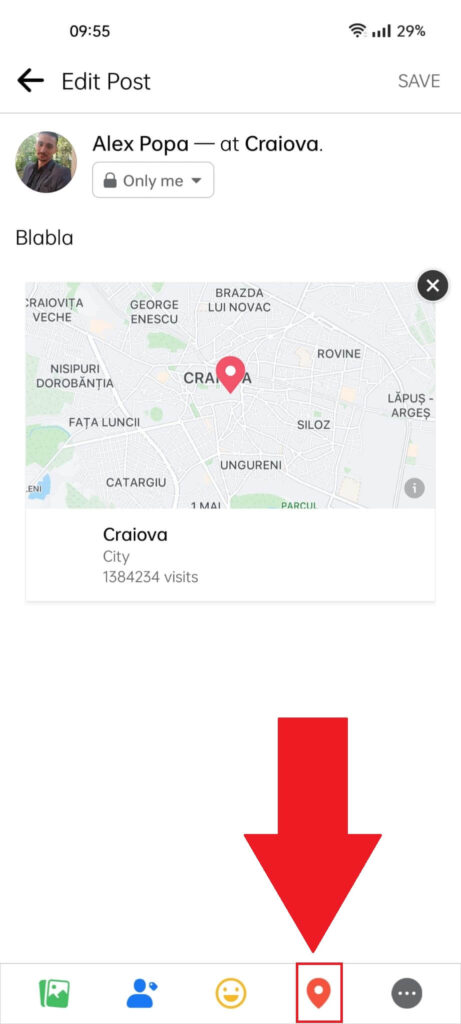
On the “Edit post” page, you can see the post’s description, visibility, check-in location, map, and a few options at the bottom.
In the bottom-right corner, you’ll see the red location icon (highlighted above). Tap it!
5. Remove the check-in location
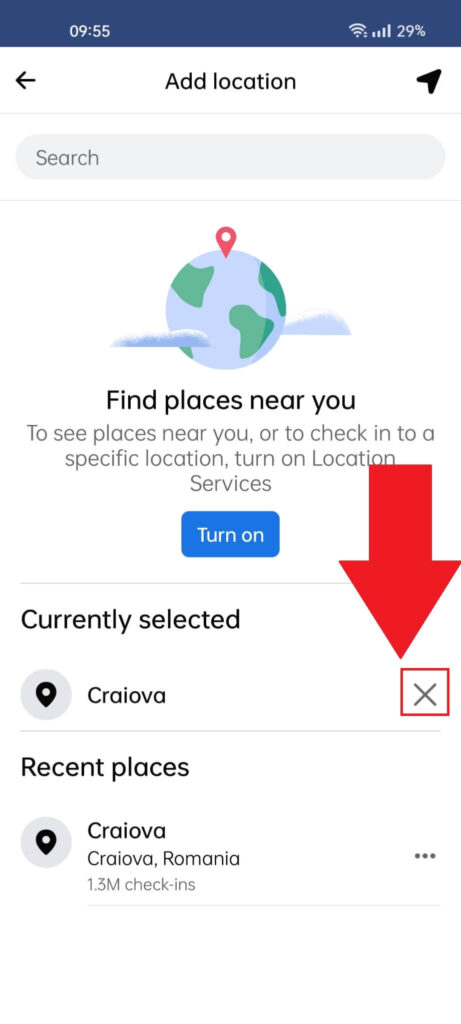
Here you are – do you see your check-in location under the “Currently selected” heading? Look at the picture below, and you’ll see it.
Now, in the top-right corner of the location, you should see an X. Select it to remove the check-in location.
6. Save the changes
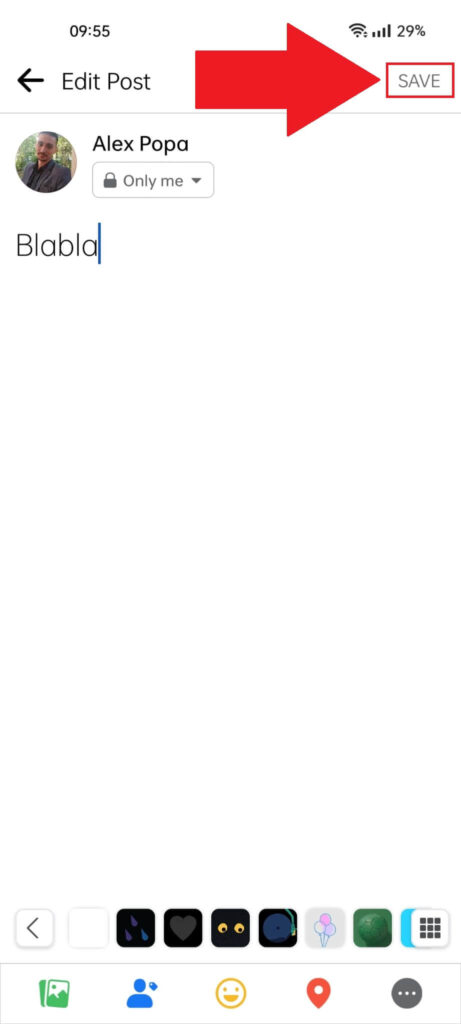
Now, all you have to do is save your post, and you’re done. You’ve successfully removed the check-in location 😀
If you have any questions or need further assistance, feel free to drop a comment below. I’m always here to help. And don’t forget to stay tuned for more of my articles about Facebook!