There’s only one way to see unsent messages on Messenger – by enabling the notifications for Messenger.
By doing this, Messenger will notify you every time someone sends you a message. Even if that person tries to be a weirdo and unsend the message, you will still have the notification.
This will let you read the message after the other person has unsent it. You’re like the NSA now, haha!
Technically, there are online tools that claim they let you read unsent messages or install special notification systems for Messenger.
But why use those when the Messenger app has a notification system of its own? It’s much safer and easier to use, to boot!
And also there is a VERY high chance all those tools exist just to steal your password – so BEWARE!
So, here’s how you enable notifications on Messenger:
- Tap on your profile picture
- Go to “Notifications & sounds“
- Enable the “Notification previews” and go to “Manage notifications“
- Enable the “Chats” option
Below, I’ll explain how to do this with screenshots for additional visual aid. Stay with me pls!
Summary: In this article, I explain how to read unsent messages on Messenger by enabling notifications.

This way, even if someone unsends a message, you will still have the notification and be able to read it. I also warn against using online tools that claim to let you read unsent messages as they may steal your password.

I provide a step-by-step guide with screenshots on how to enable notifications on Messenger by tapping on your profile picture, going to “Notifications & sounds,” enabling “Notification previews” and “Chats” under “Manage notifications.”

With notifications enabled, you’ll always know what your friends are saying in those suspicious unsent messages.
Enable the Notifications on Messenger
Here we are. Just follow these steps to enable the Messenger notifications and read all the unsent messages from your friends (or enemies!):
1. Tap on your profile picture
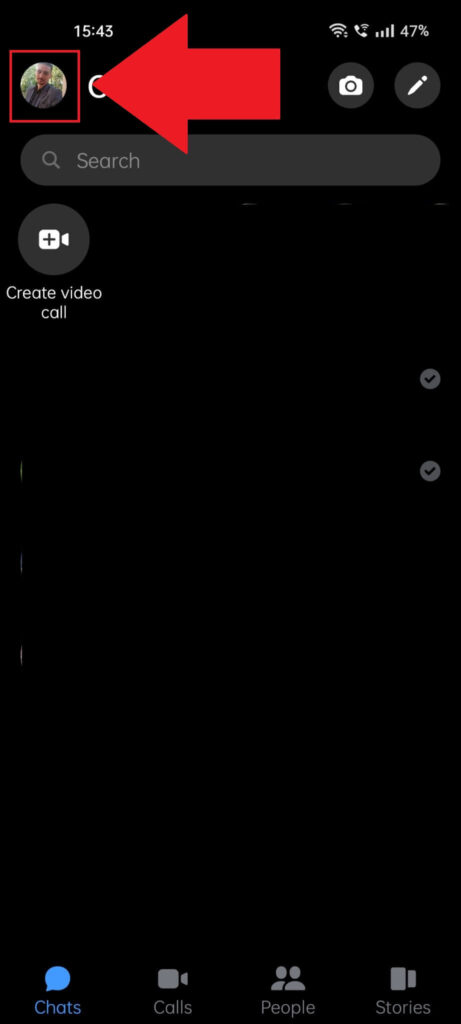
First things first – open the Messenger app on your phone (or desktop, it doesn’t matter). You should find it in your apps list. Once you open it, tap on your profile picture in the top-left corner to access the profile settings.
Next-up:
2. Go to “Notifications & sounds“
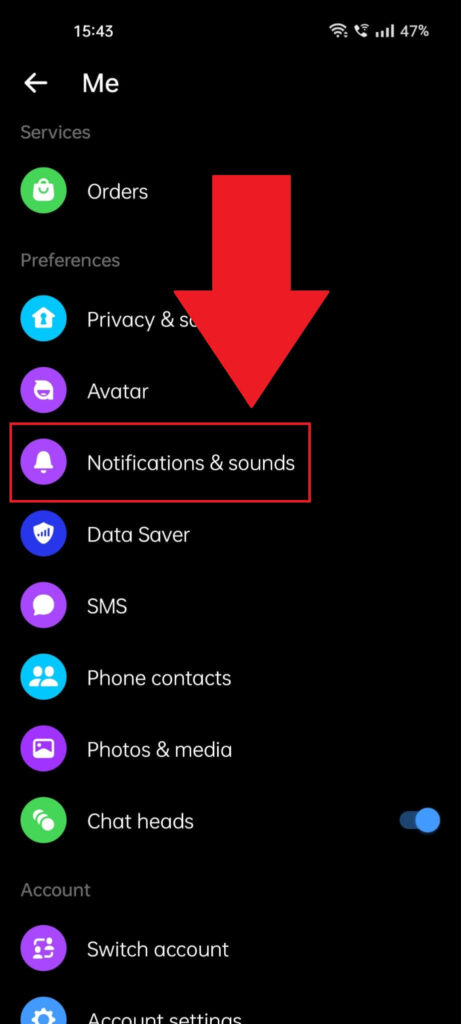
After opening the profile settings (see screenshot above), scroll down through the myriad of weird options and select “Notification & sounds” with a tap (or click if you’re on a computer – obviously, but you knew this…).
3. Enable the “Notification previews” and go to “Manage notifications“

Are you on the “Notification & sounds” page yet? Good, now find the “Notification previews” option and enable it. If the “On” option is disabled (at the top of the page, see photo), enable that too.
Make sure everything on this page is enabled… just to be safe. Then, tap “Manage notifications” at the bottom of the page.
There are still some things you must do…
4. Enable the “Chats” option
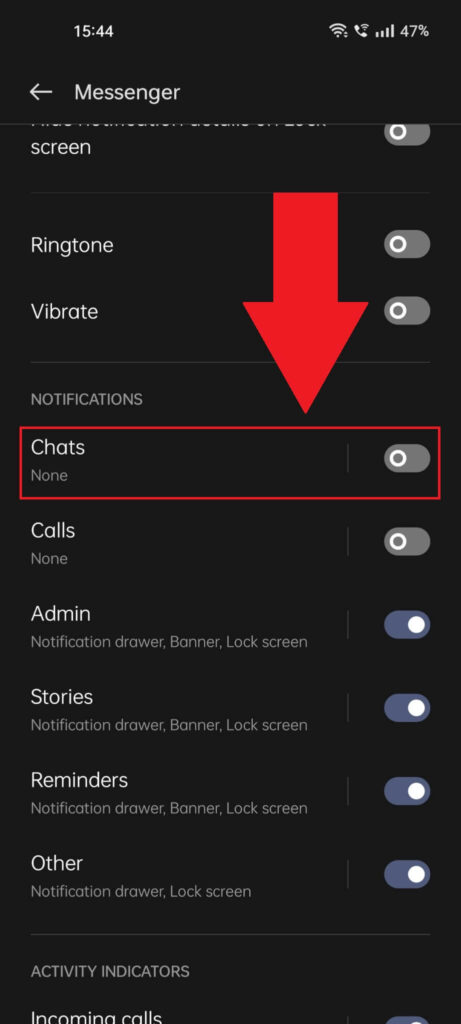
The “Manage Notifications” settings page is where you can fine-tune your Messenger notifications settings and personalize your experience. Goodie, goodie!
Find the “Chats” option and enable it. This will make sure you receive message notifications once someone sends something your way.
Messages, photos, recordings, anything they send: you’ll be notified of it at the top of the phone screen.
And here’s the kicker: even if the other person unsends the message, you’ll still see the preview and be able to read most of the message (just like what the NSA does every day…)
I say “most of the message” because the message might be too big for the preview. If that’s the case, then you’ll have to be happy with just the preview, as that’s all you get…
That’s everything. With the notifications enabled, you’ll always know what your friends are saying in those suspicious unsent messages… well, at least part of it, as if they send (and then unsend) you a long rant, you will only see the preview.
Alternatively, you could just ask your friendly neighborhood NSA agent to give you all your friends’ private messages… joking of course (or am I?).
If you need help with anything else, you’ll usually find me skulking in the comments section below. Pay me a visit…